
Several years ago when we were renovating our very overgrown and boring front garden we removed the front hedge of scruffy conifers and asked a local craftsman to create a woven willow fence. We were so delighted with the result (see my previous blog post for pictures) that when we renovated CowParsley Cottage we asked Chris Cooke, from Lark Valley Willow, to give Dave and myself a lesson on how to weave and we went on to create the back fences at the Cottage which I’m sure some of you have seen.
The courtyard at home has been on my ‘to do’ list for a couple of years so this year we tackled the job. Our metal oil-tank which borders the courtyard had to be replaced anyway so it seemed like a good excuse to rip out the old ivy-covered fencing panels and build a new willow fence to both replace the fencing and to hide the new plastic oil-tank. The fence backs on to our neighbour’s garage so we needed something fairly tall to screen us from this building as well.
The hardest work, which I have to admit I left to Dave, was removing the old fence panels and hammering in scaffolding poles 1 metre apart along the new fence line and also around the oil-tank. The beauty of woven fencing, as opposed to panels, is that the fence can continiously flow around corners with no sharp edges so the whole thing would flow around the oil-tank hiding it completely.
 This photo shows the poles banged into the ground – these galvanized scaffolding poles are very strong and support the weight of the fence – no more rotten fence post in 10 years time to dig out and replace!
Each pole went into the ground by a couple of feet and are then levelled off to a height about 15cm below the finished height of the fence.
Once the poles are all in, that’s the worst of the hard work over – the rest is less strenuous!
Between the metal poles we inserted long hazel uprights – these form the majority of the vertical uprights, if you want a living fence, you can use either freshly cut green hazel or willow pushed into the ground – they will sprout and grow into living uprights if you allow them to. In our case we didn’t want this so we left the uprights to dry out and die off before we used them. The uprights were inserted every 20cm and temporarily held in position using a few pieces of willow woven high up on the fence.
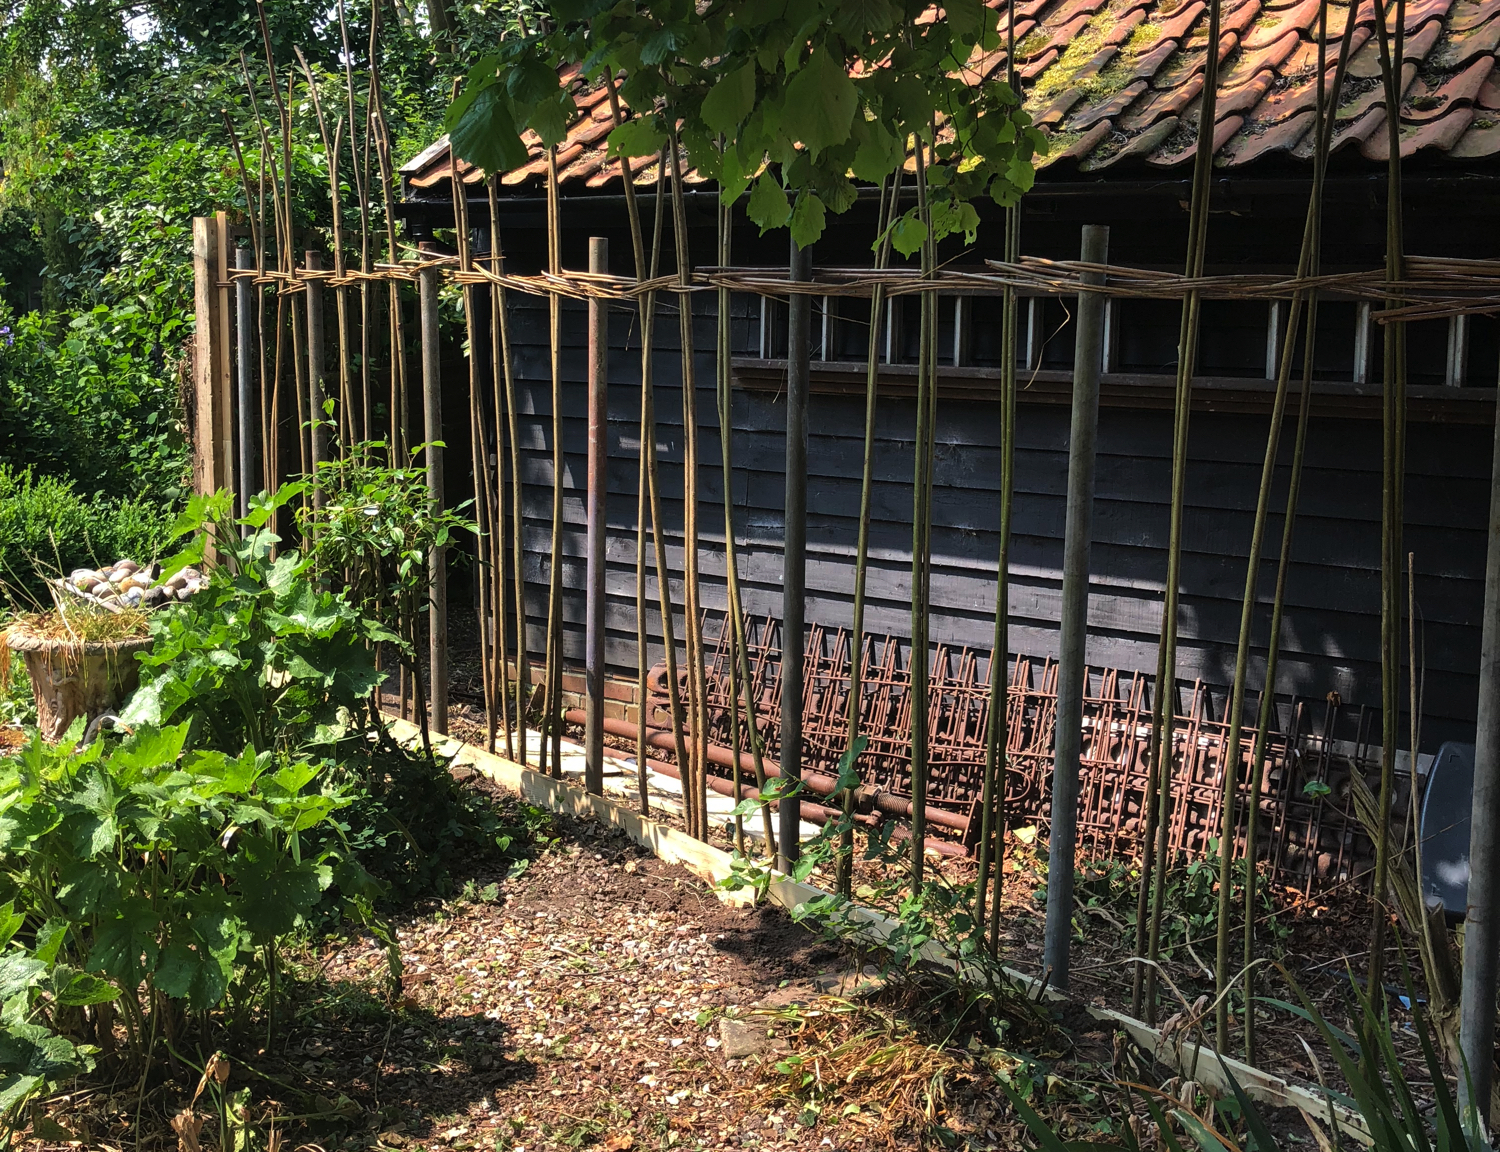 We also added a gravel board long the bottom at this stage to keep the bottom of the fence tidy.
Now comes the interesting bit – the actual weaving of the willow. The withies are about 2m long and come in big bundles that need to be soaked in water for several days to soften them up to increase their flexibility. We have a very large water butt where we placed them a week before we wanted to use them. They smell a bit like a wet muddy bog after a week in there! Starting at one end, I took 4 withies together and simply weave them in and out of the uprights. Then take another 4 withies, starting one upright along and again weave in and out. Then another 4, starting one further upright along and just keep going like this until you reach the other end. We have one end that butted up to an existing wooden fence post and the other end was open where we wanted the fence to wrap around a scaffolding post. This was to allow the oil tanker man to get around the back of the fence and fill up the oil-tank! As the withies reached the end post, we simply wrapped them around the post and started weaving them back the other way. After a few hours work we had the first 6 inches of the fence done and we could start seeing the pattern forming. A great feeling!
 From now it’s just plain sailing, back and forth until you get close to the tops of the scaffolding poles. We drove the poles into the soil about 15cm below the finished height of the fence, so at this stage we poked some offcut uprights into the top of each scaffold pole and then continued weaving. As the weave continued to rise up, it covered the metal poles completely and all that was left showing were the wooden verticals.
Now the difficult bit – the rope twist top. I’ve posted a video here that shows how it’s done. (it’s quite a large video so may take a few moments to load). A little bit of brute force and very well soaked willow is needed here! The twisting of the willow creates a nice tight, neat top and once completed, the fence is really strong and will not unravel. The final jobs are to snip the uprights off just above the rope twist, and go over the whole fence to trim off any little whiskers of willow than might be sticking out.
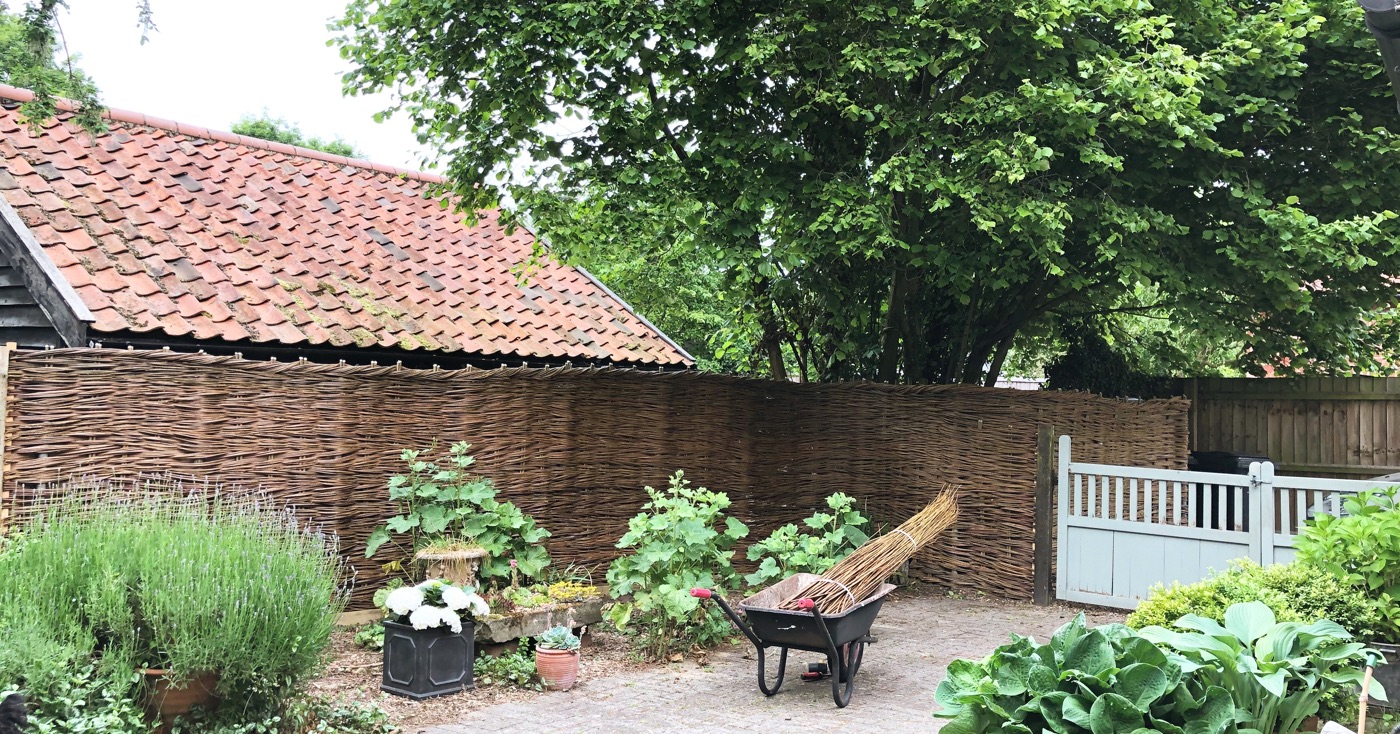
The final result is great to look at, very strong and should last many years. Its a really satisfying project and provides a lovely natural fence and screen and is a great backdrop for flowers.
Debbie.
Comments